

Ask any agency what really delays a website launch and you will get the same answer: missing content. Not design revisions. Not development bugs. Content. A project quoted at six weeks quietly stretches into five months because nobody can find the original logo file, the product photos are screenshots from Facebook, and the “About” page copy is still sitting in a draft email.
The good news is that this is entirely preventable. If you prepare content for your web designer before the kickoff meeting, you remove the single biggest bottleneck in the entire process. This guide walks you through exactly what to gather, what format each asset should be in, and how to hand it all over so your designer can actually start designing on day one.
Why Unprepared Content Is the Number One Cause of Delayed Launches
A web designer cannot design a page without knowing what goes on it. Layout decisions depend on the length of your headline, the number of services you offer, the shape of your photos, and whether you have three testimonials or thirty. When content is missing, one of two things happens:
- The designer uses placeholder text and images. You approve a beautiful mockup, then real content arrives and breaks the layout. Everything gets redesigned.
- The project stalls. The designer moves on to another client, and your slot in their schedule disappears. Getting it back can take weeks.
Both outcomes cost you money and momentum. Preparing your content in advance is the cheapest project insurance you will ever buy.
Before You Gather Anything: Define the Site Structure
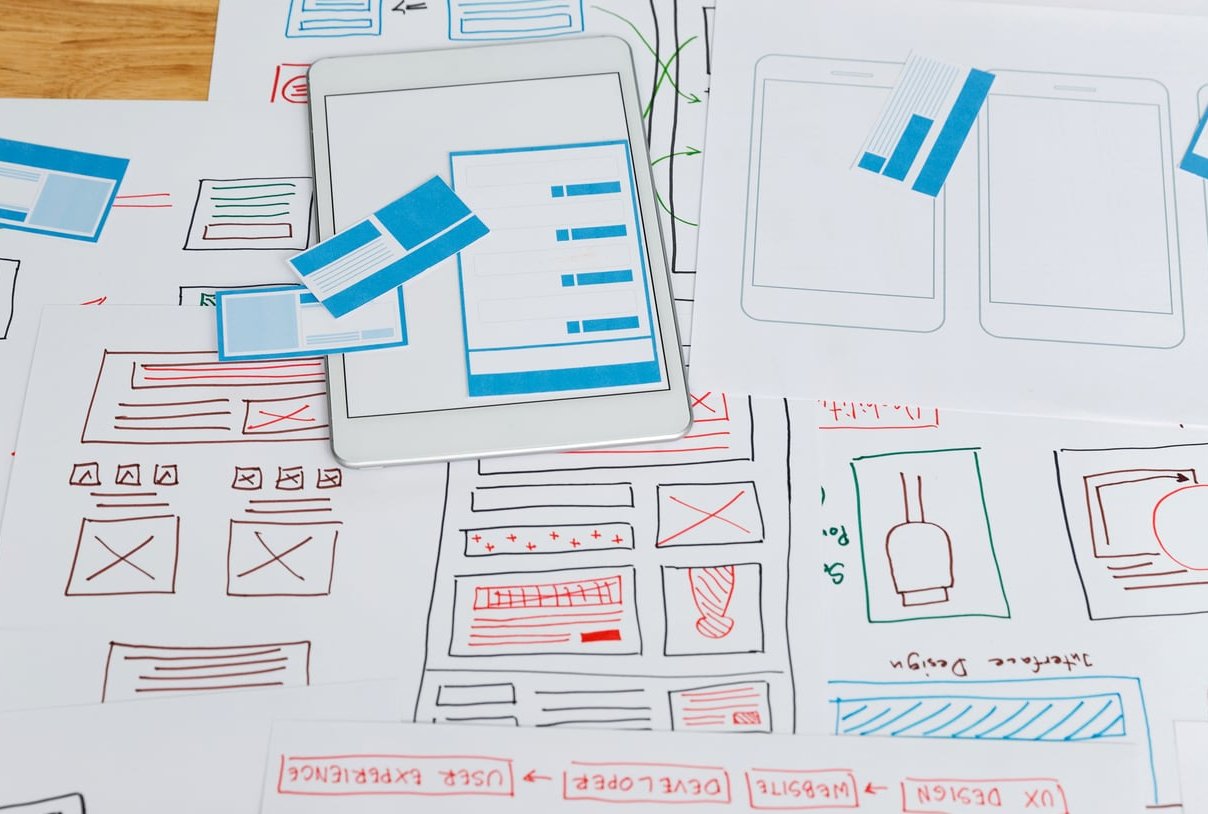
You cannot collect content for pages you have not decided on. Spend an hour sketching a simple sitemap: a list of every page you need, organized by hierarchy. For a typical small business site that looks like this:
- Home
- About
- Services (with a sub-page per service)
- Portfolio or Case Studies
- Testimonials
- Blog
- Contact
- Privacy Policy and Terms
Write this list in a document and use it as the spine for everything below. Every asset you collect should be labelled with the page it belongs to. This single habit saves hours of back and forth.

The 10-Item Content Prep List
1. Brand Assets and Logo Files
This is where most projects trip at the first hurdle. A logo copied from your old website is typically 200 pixels wide and will look blurry on a modern screen. Your designer needs the original.
What to send:
- Vector logo files: .svg, .ai, .eps or a vector .pdf
- A transparent .png version at a minimum of 1000px wide as a backup
- Horizontal, stacked, and icon-only variations if they exist
- A light version for dark backgrounds and a dark version for light backgrounds
- Your favicon source (a square version of your mark)
If you cannot find the vector files, contact whoever designed the logo. If that is a dead end, tell your designer early so they can quote for a redraw. Do not discover this in week four.
2. Brand Guidelines, Colours and Fonts
Even a one-page brand sheet helps enormously. If you do not have formal guidelines, provide:
- Hex codes for your primary and secondary colours (for example #1A3D6B, not “our blue”)
- The names of your fonts, plus licence files if they are paid fonts
- Any rules you already follow, such as never stretching the logo or always using sentence case headings
3. Page Copy, Written and Final
This is the heaviest item on the list and the one people underestimate. Write your copy in a single shared document, with one clear heading per page that matches your sitemap. There is a practical rundown of it online.
Best practice for delivery:
- Use Google Docs or a single .docx file, never a PDF and never copy pasted into the body of an email
- Structure it with real heading levels (H1, H2, H3) so the designer understands hierarchy
- Mark clearly where you want buttons, and what they should say (“Book a free consultation”)
- Include the page title and meta description you want for SEO, or flag that you want help with these
A realistic guide to length:
| Page type | Suggested word count | Must include |
|---|---|---|
| Home | 300 to 600 | Headline, what you do, who it is for, main call to action |
| About | 400 to 800 | Story, team, credentials, values |
| Service page | 600 to 1200 | Problem, solution, process, pricing or pricing guidance, FAQ |
| Contact | 100 to 200 | Address, phone, email, hours, form fields you need |
| Legal pages | As required | Privacy policy, terms, cookie notice |
Not a writer? Say so at the quoting stage. Hiring a copywriter, or paying your designer to handle copy, is far cheaper than a three month delay.
4. Photography: Team, Premises and Lifestyle
Stock photos are fine as filler, but original photography is what makes a site feel credible. If you can schedule a photo session before the design starts, do it. A similar approach shows up on thecrazypixel.com.
What to send:
- High resolution JPG or PNG, minimum 2000px on the longest side
- Original camera files, not versions that have been emailed or sent through WhatsApp
- A mix of landscape and portrait orientations, plus a few wide shots with empty space where text can sit
- Confirmation that you own the rights or have a licence
5. Product Images or Portfolio Work
For e-commerce, this is make or break. Inconsistent product photography is visible immediately and no amount of design can hide it.
- Shoot every product on the same background, at the same angle and crop
- Use square images for grids, typically 1500 x 1500px
- Name files logically:
sku-1234-blue-front.jpg, notIMG_0483.jpg - Supply a spreadsheet (.csv or .xlsx) with SKU, title, description, price, stock, weight, and variant options
For portfolio or case study work, bundle each project into its own folder containing images, a short write up, the client name, and the result achieved.
6. Testimonials, Reviews and Social Proof
Collect these early, because chasing clients for quotes takes longer than you expect. Aim for six to ten strong testimonials before launch.
Each testimonial should include:
- The quote itself, ideally two to four sentences and specific about results
- Full name, job title and company
- A headshot or company logo, with permission to use it
- Written permission to publish (an email reply is enough)
Also gather your Google review link, industry association badges, certifications, awards, and any “as featured in” logos.
7. Video and Audio Assets
If you want video on the site, decide now. Video changes layout decisions and load times.
- Upload finished videos to YouTube or Vimeo and share the links rather than sending large files
- For background videos, supply a short .mp4 clip, under 10 seconds, under 5MB, with no audio
- Provide captions or a transcript for accessibility
8. Domain, Hosting and Account Access
The most common eleventh hour panic is a client who cannot log into their own domain registrar. Track this down at the start.
| Access needed | Why the designer needs it |
|---|---|
| Domain registrar login | To point DNS records at the new site |
| Hosting control panel | To deploy files, set up SSL and email routing |
| Existing CMS admin | To export current content, posts and images |
| Google Analytics and Search Console | To preserve tracking history and monitor the migration |
| Google Business Profile | To update the website link and keep local SEO consistent |
| Email marketing platform | To connect newsletter signup forms |
| Payment gateway | To configure checkout on e-commerce sites |
Never send passwords by email. Use a password manager with shared vaults, or create a separate admin user for your designer that you can revoke after launch.
9. Reference Sites and Design Direction
Your designer is not a mind reader. Give them a starting point.
- Three to five websites you like, with a sentence on what you like about each (the typography, the spacing, the tone, the navigation)
- Two or three sites you dislike, and why. This is often more useful than the first list
- Your two or three closest competitors
- Any hard constraints: colours you cannot use, elements that must appear above the fold, brand rules from a parent company
10. Business Goals, Legal Details and Technical Requirements
Finally, the practical details that affect how the site is built:
- The primary goal: phone calls, form submissions, online sales, bookings, or downloads
- Integrations needed: booking system, CRM, live chat, inventory software, accounting tools
- Legal information: registered company name and number, VAT number, registered address, complaints procedure
- Existing URL list if you have a current site, so old pages can be redirected instead of returning 404 errors
- Who will update the site after launch, and what level of training they need

How to Hand Everything Over
Format matters as much as content. Here is a delivery structure that works:
- Create a single shared cloud folder (Google Drive, Dropbox or OneDrive) named after your project
- Inside it, create subfolders:
01-Logo-Brand,02-Copy,03-Photos,04-Products,05-Testimonials,06-Video,07-References - Put the copy document at the top level so it is easy to find
- Give the designer edit access, not view only, so they can add notes and flag gaps
- Send one message when the folder is complete rather than drip feeding assets over several weeks
Avoid sending assets through WhatsApp, iMessage or social media. These platforms compress images heavily and the quality loss is permanent.
Quick Reference: File Formats at a Glance
| Asset | Preferred format | Minimum size |
|---|---|---|
| Logo | SVG, AI, EPS | Vector, any size |
| Photography | JPG | 2000px longest edge |
| Product shots | JPG or PNG on white | 1500 x 1500px |
| Icons and graphics | SVG or transparent PNG | 512px square |
| Page copy | Google Doc or .docx | One document, headed by page |
| Product data | CSV or XLSX | One row per SKU |
| Video | MP4, or YouTube/Vimeo link | 1080p |
| Documents for download | PDF, optimized | Under 5MB each |

A Realistic Timeline for Getting Ready
If you are starting from zero, budget three to four weeks of preparation before the design work begins. A workable schedule:
- Week 1: Sitemap, goals, reference sites, chase down logo and brand files
- Week 2: Book photography, request testimonials, collect account logins
- Week 3: Write and edit page copy, gather product data
- Week 4: Photo shoot delivered, organise the shared folder, final review
Yes, it feels like extra work up front. It also routinely cuts a month or more off the total project timeline and dramatically reduces the number of revision rounds you pay for.

Common Mistakes to Avoid
- Sending content in batches over many weeks. Designers work in blocks. Fragmented delivery means restarting repeatedly.
- Approving a design with placeholder text. What looks balanced with dummy copy often collapses with real copy.
- Using images pulled from Google Images. This is a copyright risk and the resolution is almost always too low.
- Leaving legal pages until the end. Privacy policies and cookie notices are legal requirements, not optional extras.
- Forgetting the old URL list. Losing redirects from an old site is one of the fastest ways to lose search rankings overnight.
- Having no single decision maker. If five people must approve every headline, the project will stall. Nominate one person.
Frequently Asked Questions
What are the 7 C’s of website design?
The 7 C’s are commonly listed as Context, Content, Community, Customization, Communication, Connection and Commerce. They come from e-commerce design theory and are a useful checklist when reviewing whether a site does its job. Notice that Content is second on the list, which reinforces why gathering it properly before design begins matters so much.
How do I prepare website content if I am not a writer?
Start by recording yourself answering the questions a customer would ask: what do you do, who do you help, how does it work, what does it cost, why should someone choose you. Transcribe the recording and edit it down. If you still struggle, hire a copywriter or ask your web designer whether they offer copywriting. Handing over rough but complete notes is far better than handing over nothing.
What is the 3 second rule in website design?
The 3 second rule says a visitor should understand what you offer, who it is for, and what to do next within roughly three seconds of landing on your page. This is a content problem more than a design problem. Your headline, subheadline and main call to action need to be written and ready before the designer builds the hero section.
Is hiring a web designer still worth it in 2026?
Yes, for most businesses. AI tools and templates have lowered the cost of producing something that looks acceptable, but they do not solve positioning, information architecture, conversion strategy, accessibility compliance or technical SEO. A good designer earns their fee in the decisions they make about structure and clarity, not just in visuals. That said, the value you get depends heavily on how well prepared your content is.
Who owns the content once the site is live?
You should. Make sure your contract states that you own the copy, photography and final design files, and that you hold the accounts for your own domain and hosting. Register domains in your own name, not your designer’s.
What if my content is not ready when the project starts?
Tell your designer immediately. Most will happily agree a phased approach: design the key templates first using a realistic content outline, then populate as content arrives. What causes real damage is silence, missed deadlines, and a designer who has blocked out time they cannot now use.
Next Step
Copy the ten items above into a checklist, share it with your team, and set a deadline for each one. When you can tick every box, you are ready to brief a designer with confidence, and your launch date becomes a date you can actually keep.
If you would like a second opinion on whether your content is ready, or you want help writing it, get in touch and we will review your list before your project begins.